

Smartphone cameras have come a long way, and the iPhone is no exception. Whether you’re using the latest iPhone model or an older version, Apple’s camera technology allows you to capture high-quality photos without the need for a professional camera. With the right techniques and settings, you can take breathtaking shots worthy of social media, personal memories, or even professional use. Here are some expert tips to help you make the most of your iPhone’s camera.
1. Clean Your Lens for Sharp Images
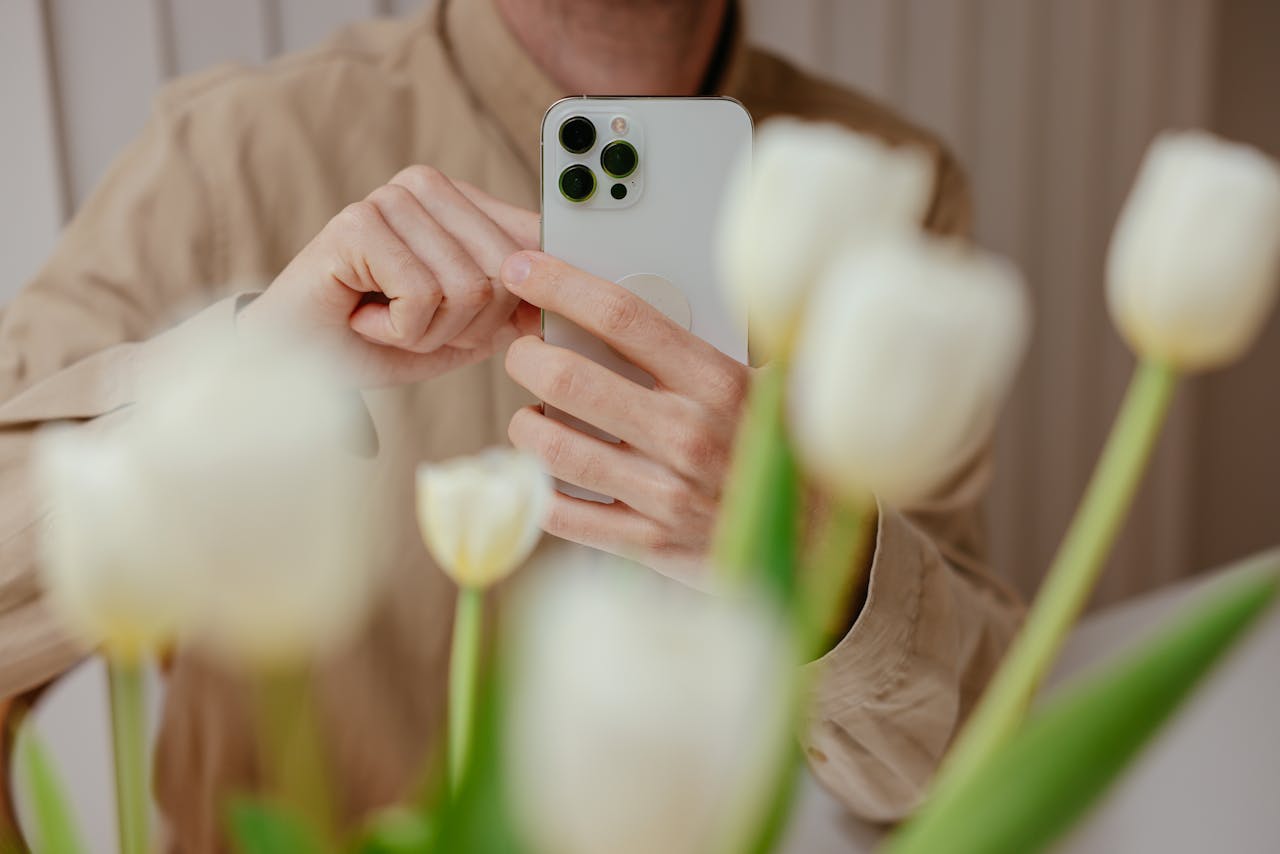
It sounds simple, but a smudged lens can significantly impact the quality of your photos. Since we handle our phones all day, fingerprints and dirt accumulate on the camera lens. Before taking a photo, wipe the lens gently with a microfibre cloth or a clean part of your shirt to ensure a clear and sharp image.
2. Utilise the Grid for Better Composition
One of the easiest ways to improve your photography composition is by using the rule of thirds. The iPhone has a built-in grid feature that helps with alignment. To enable it:
- Go to Settings > Camera
- Toggle on Grid
This feature divides your screen into nine equal parts, allowing you to position key subjects along the intersecting lines for a more visually appealing shot.
3. Adjust Exposure Manually
Your iPhone’s camera automatically adjusts exposure, but sometimes it needs a little help. To manually adjust brightness:
- Tap on your subject in the camera app.
- A yellow box will appear with a sun icon next to it.
- Slide the sun icon up to increase brightness or down to decrease it.
This is particularly useful in high-contrast scenes or when shooting against bright backgrounds.
4. Use Portrait Mode for Professional-Looking Shots
Portrait mode creates a shallow depth of field, blurring the background and making your subject pop. This feature is perfect for portrait photography and product shots. To use Portrait mode:
- Open the Camera app
- Swipe to Portrait
- Ensure there is enough distance between your subject and the background for a better blur effect
Newer iPhones allow you to adjust the blur effect after taking the photo by editing the Aperture (f-stop) in the Photos app.
5. Experiment with Different Lenses
If you have an iPhone with multiple lenses, make use of them!
- Ultra-Wide Lens: Great for landscapes and capturing more in tight spaces.
- Wide Lens: Best for general photography.
- Telephoto Lens: Ideal for zooming in without losing quality.
You can switch between these lenses directly in the Camera app by tapping the zoom icons (0.5x, 1x, 2x, etc.).
6. Utilise Night Mode for Low-Light Photography
Newer iPhone models come with Night Mode, which enhances details and reduces noise in low-light conditions. It activates automatically in dark environments, but you can adjust the exposure time manually by tapping the Night Mode icon and selecting a longer exposure.
To get the best results:
- Keep your phone steady or use a tripod.
- Use nearby light sources for better illumination.
- Avoid moving subjects as long exposures can blur motion.
7. Take Advantage of Live Photos
Live Photos capture a few seconds before and after your shot, allowing you to select the best frame later. To enable this feature:
- Open the Camera app.
- Tap the Live Photos icon (three concentric circles).
You can turn a Live Photo into a long exposure or a loop in the Photos app for creative effects.
8. Use Burst Mode for Action Shots
If you’re trying to capture movement, like a child playing or a sports event, Burst Mode helps you get the perfect frame.
- Simply hold down the shutter button (or press the volume up button) and your iPhone will take multiple photos rapidly.
- Later, go to the Photos app, select the Burst, and pick the best shot.
9. Master HDR for Balanced Exposure
HDR (High Dynamic Range) helps balance shadows and highlights in high-contrast images, preventing overexposed skies or underexposed details.
- Go to Settings > Camera > Enable Smart HDR (on newer models)
- If you’re using an older iPhone, manually toggle HDR on/off in the Camera app
10. Experiment with Different Angles
Don’t just take photos from eye level—change your perspective to make your shots more dynamic.
- Get low to capture dramatic angles
- Shoot from above for a bird’s-eye view
- Tilt your phone for creative angles
Mastering iPhone Photography: Tips for Taking Photos with Your iPhone
11. Use Editing Tools to Enhance Your Photos
Even the best shots can benefit from slight adjustments. The iPhone’s Photos app has built-in editing tools that allow you to tweak brightness, contrast, and colour.
- Open the Photos app
- Select an image and tap Edit
- Adjust settings like Exposure, Contrast, Saturation, and more
For more advanced edits, consider apps like Snapseed, VSCO, or Lightroom Mobile.
12. Shoot in ProRAW for Maximum Detail
If you’re using an iPhone 12 Pro or later, you can enable ProRAW for more control over editing.
- Go to Settings > Camera > Enable Apple ProRAW
ProRAW files retain more detail and allow for better post-processing but take up more storage, so use them wisely.
13. Use Third-Party Apps for More Control
For those who want even more control, apps like Halide and ProCamera offer manual settings like ISO, shutter speed, and white balance adjustments.
14. Avoid Overusing Zoom
The iPhone uses digital zoom beyond its optical range, which can lead to grainy or pixelated images. Instead of zooming in, move closer to your subject or use the telephoto lens if available.
15. Make the Most of Natural Light
Whenever possible, use natural light to enhance your photos. Golden hour (the hour after sunrise and before sunset) provides soft, flattering light for portraits and landscapes. If shooting indoors, position your subject near a window for the best results.
Final Thoughts
Taking great photos with your iPhone is all about mastering composition, lighting, and the camera’s built-in features. With a little practice and these expert tips, you’ll be well on your way to capturing stunning images that stand out. Whether you’re snapping selfies, travel shots, or professional-looking portraits, your iPhone has everything you need to create amazing photography.
Start experimenting today and watch your photography skills improve!