
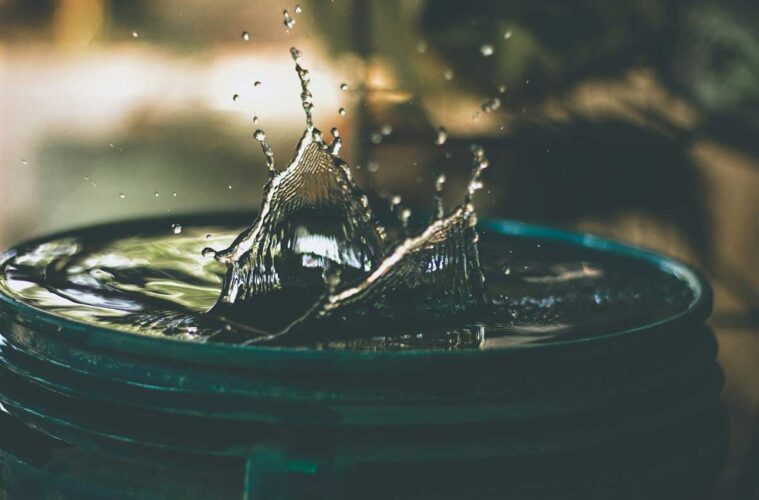
Water conservation is an increasingly important issue in the UK, especially with unpredictable weather patterns, hosepipe bans, and rising water bills. Installing a water butt in your back garden is one of the easiest and most effective ways to collect rainwater, reduce your environmental impact, and save money. In this guide, we’ll explore the benefits of using a water butt and walk you through the process of installing one.
The Benefits of Installing a Water Butt
1. Save Money on Water Bills
With utility prices constantly on the rise, many UK households are looking for ways to cut down on their expenses. Using rainwater collected in a water butt reduces the need for tap water, particularly for outdoor tasks such as watering plants, cleaning patios, or washing cars. Over time, this can lead to significant savings on your water bill.
2. Help the Environment
Using a water butt means making use of a free natural resource instead of relying on mains water. This reduces the demand for treated water, which requires energy-intensive processes to clean and transport. By using rainwater for gardening and outdoor cleaning, you’re lowering your carbon footprint and helping conserve the UK’s water supply.
 3. Ideal for Gardening
 3. Ideal for Gardening
Rainwater is naturally soft, meaning it doesn’t contain the high levels of calcium and chlorine often found in tap water. Many plants, especially those that prefer acidic soil like rhododendrons and camellias, thrive when watered with rainwater. Using a water butt ensures your plants receive a more natural source of hydration, which can improve their overall health.
4. Reduces Flooding and Water Runoff
Heavy rain can often lead to excess water running off rooftops and overwhelming drainage systems. This can contribute to localised flooding, particularly in urban areas. A water butt helps by capturing rainwater before it can add to the problem. It also slows down the rate at which water enters the ground, reducing soil erosion and pressure on storm drains.
5. Convenient During Droughts and Hosepipe Bans
During dry spells or summer months, the UK often enforces hosepipe bans to conserve water. Having a water butt means you’ll have a stored supply of water readily available for your garden, even when restrictions are in place. This allows you to maintain your plants and lawn without breaking any rules.
How to Install a Water Butt in Your Garden
Installing a water butt is a straightforward process that requires minimal tools and can be completed in less than an hour. Follow these simple steps to set up your own rainwater harvesting system.
What You’ll Need:
- A water butt (sizes range from 100L to 500L+)
- A stand (optional but useful for easy access to the tap)
- A diverter kit (to connect to your downpipe)
- A drill with a hole saw attachment
- A hacksaw (if you need to adjust the downpipe)
- A spirit level (to ensure stability)
Step 1: Choose the Right Location
Your water butt should be positioned near a downpipe on your house, shed, or garage. It’s best to place it on level ground, ideally on a solid surface like paving slabs or a water butt stand to prevent it from tipping over when full.
Tip: If your garden slopes, place the water butt in a location where you can easily access the tap without needing to lift heavy watering cans too high.
Step 2: Prepare the Downpipe
A diverter kit allows excess water to continue flowing down the downpipe once the water butt is full.
- Measure the height – Place the water butt next to the downpipe and mark where the diverter should be installed (usually around 8-12cm below the top of the butt).
- Cut the downpipe – Use a hacksaw to carefully cut the downpipe at the marked point.
- Fit the diverter – Insert the diverter into the cut section and secure it following the manufacturer’s instructions.
Step 3: Drill a Hole for the Diverter Hose
- Use a drill with a hole saw attachment to create an opening in the side of the water butt at the marked height.
- Attach the diverter hose to the hole and secure it with the rubber seal or fittings provided in the kit.
Step 4: Secure the Water Butt and Test It
- Position the water butt on a stand or a stable surface.
- Attach the tap at the bottom of the butt if it isn’t pre-fitted.
- Ensure all fittings are tight and secure.
- Pour a small amount of water into the downpipe to check if the diverter directs it into the water butt.
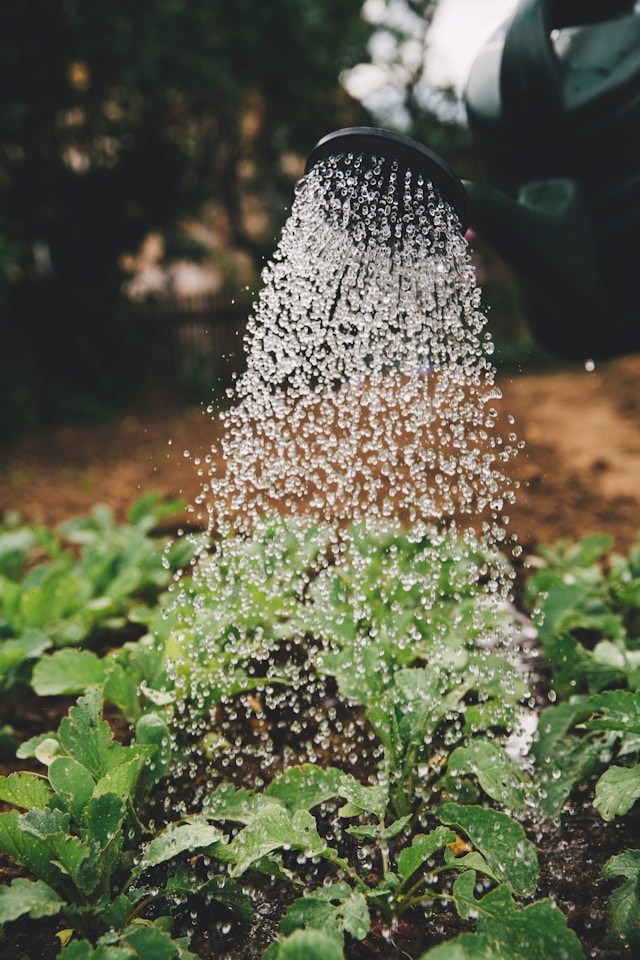
Step 5: Start Using Your Rainwater Supply
Once your water butt has collected a decent amount of rainwater, you can start using it for:
✔ Watering plants and lawns
✔ Cleaning patios, garden furniture, and tools
✔ Washing cars or bikes
✔ Topping up ponds and birdbaths
Additional Tips for Maintaining Your Water Butt
- Keep It Covered: Always use a lid to prevent debris, leaves, and insects from entering the water. This also reduces the risk of algae growth.
- Clean It Annually: Empty and rinse out the inside of the water butt at least once a year to prevent sludge buildup.
- Check for Leaks: Regularly inspect the tap, hose, and seals to ensure they are in good condition.
- Use a Rainwater Filter: If you’re using the collected water for sensitive plants, consider adding a filter to remove any unwanted particles.
- Winter Precautions: In winter, drain the water butt slightly to prevent freezing and potential damage.
Conclusion
Installing a water butt in your garden is a simple yet highly effective way to save money, reduce your environmental footprint, and ensure you always have a natural supply of water for outdoor use. Given the UK’s regular rainfall, this is an easy and practical solution for any homeowner looking to be more self-sufficient and eco-friendly.
With just a small investment and minimal effort, you can start harvesting rainwater today and reap the benefits for years to come. So why not take the plunge and set up your own water butt? Your garden (and your wallet) will thank you!